This is the second of a multi-part post showing how we are converting a large plastic dog house into a chicken coop. Go back here for the first post.
After The Princess and I compared the prices on dog houses, I decided on one that measures about 40 inches long X 30 inches wide X 32 inches tall. $75 for a brand new dog house that I was going to cut holes in? Sure, why not? Actually, I have been watching the Freecycle and Craig's lists for weeks, but nothing seemed too promising. So we bought one new.

The article in Mother Earth News suggested removing the clips that hold the top to the bottom, so that you can more easily access the eggs and clean out the coop.
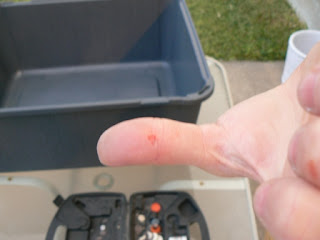
 And I ALWAYS take the advice of hippies, so I cut the clips off with a Moto-tool. I sanded them down a little bit, but I'll go over everything again later to smooth out any rough edges.
 Next I cut a hole in the side of the house top, to secure a roost. Guess I can't get a refund, now...
 Here is the installed roost, after I trimmed it to size and sanded the edges.
That is all of the progress I made tonight. Soon I'll add a wall about 12 inches or so from the back wall so the hens will have a more private place to lay eggs. Then I'll need to figure out a door so that the birds can be closed us at night. After all that, I'll need to repeat the entire process on a second chicken house, so that everyone has a nice place to sleep.
Until then, here are some gratuitous kid/chicken pics. Enjoy.
Until then, here are some gratuitous kid/chicken pics. Enjoy.


2 comments:
Hey Talker...
The Incredibles ROCK!!!
- - - - - - - -
Mike, I think the Hippies would have had you use a hand saw or stone sharpened knife to removed the clip. The thought of carbon emitting power tools are just not in the "Hippie" agenda....
Your chicks are growing up fast & cute...and the chickens are right behind them, although they're losing some of their cuteness.
Post a Comment